A Beginner’s Guide to Building a VR-Ready PC
28 March 2026
So you’ve seen the jaw-dropping VR games, watched someone wave their arms around with a headset on and thought: “Yep, I need in on that!” But then… reality hits. Not virtual reality, but the oh-so-real “I have no idea what I’m doing when it comes to building a VR-ready PC” reality.
Relax. Breathe. Grab your favorite drink and get comfy. You're about to get schooled—in the best way possible. This guide isn’t just techy jargon and dry specs. Nope. We’re going to make this a fun, sassy, and no-BS ride into the realm of VR PC building.
Why Build a VR-Ready PC in the First Place?
Look, you could drop your cash on a prebuilt system, sure. But where’s the fun in that? Building your own VR-ready PC is like cooking your favorite dish from scratch rather than calling takeout. It might take more work, but the satisfaction? Chef’s kiss.Plus:
- It’s usually cheaper (if you play your cards right).
- You get exactly what you want.
- You understand your system inside-out.
- It’s DIY bragging rights. Period.
Let’s break down what makes a sweet, VR-friendly machine.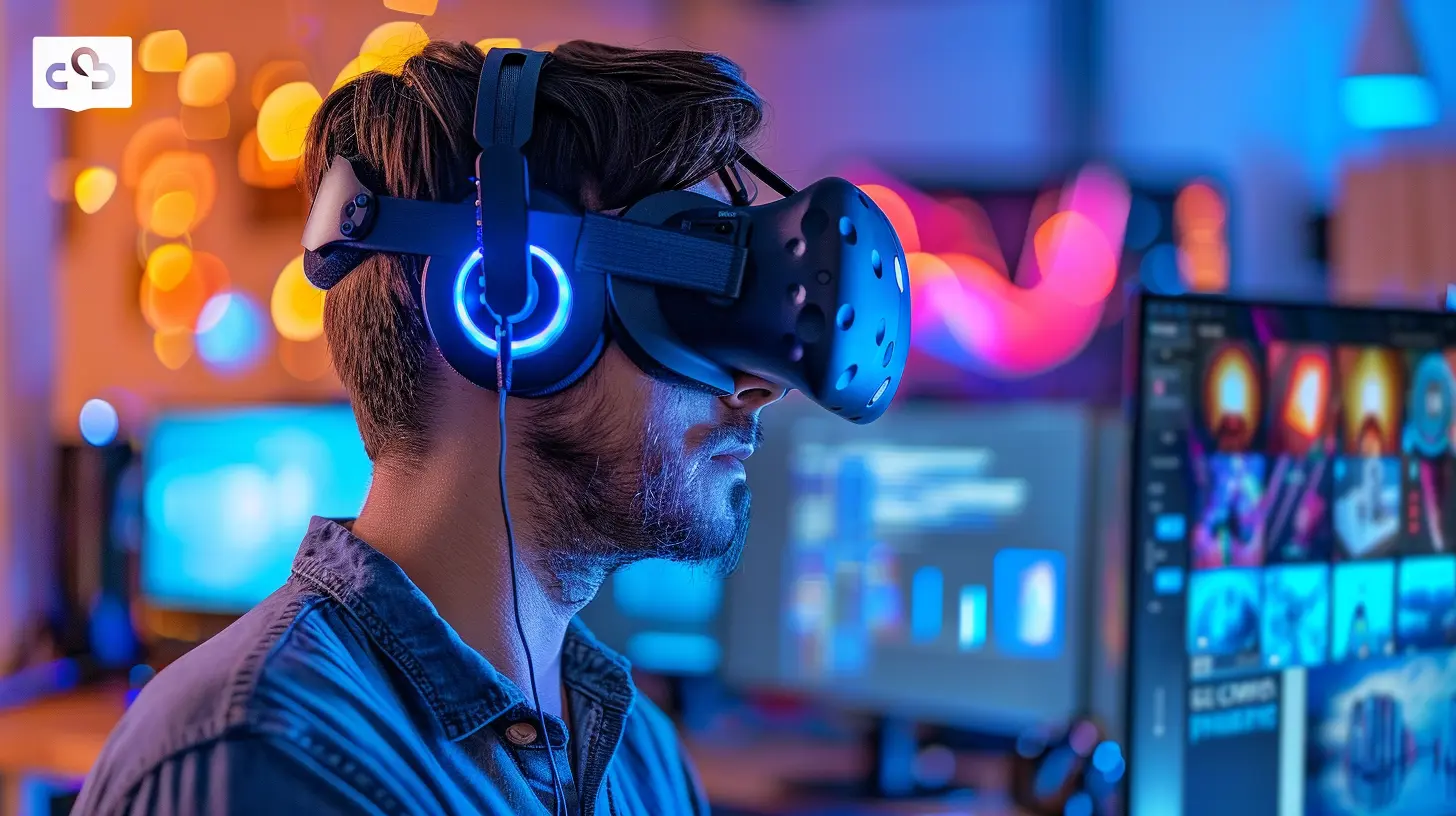
What Makes a PC "VR-Ready"?
A VR-ready machine isn’t just any PC with flashy lights and RGB everything. It needs to hit certain technical benchmarks to support the high-res, ultra-smooth experience that virtual reality demands.VR requires:
- High frame rates (think 90 FPS and up)
- Low latency (no one wants to puke mid-game)
- Solid GPU and CPU performance
- Loads of memory for multitasking
- Fast storage (because loading screens are a drag)
Think of it like building a race car—every part has to work together to make sure you don’t crash and burn in the middle of your VR joyride.
Step 1: Picking the Right GPU (The Star of the Show 🎥)
Let’s get one thing straight—the graphics card is everything in a VR rig. It’s the muscle behind every pixel your eyeballs are going to see.What You Need:
- For entry-level VR: NVIDIA GeForce RTX 3060 or AMD RX 6600 XT- For mid-tier performance: RTX 3070/3080 or AMD RX 6700 XT+
- For high-end future-proofing: RTX 4080/4090 or AMD RX 7900 XTX
Pro Tip: Don’t cheap out here. VR without a solid GPU is like trying to drive a Ferrari with bicycle wheels. It’s gonna be ugly.
Step 2: Choose Your CPU (The Brain 💡)
Okay, your GPU might be the biceps, but your CPU is the brain of the operation. You need enough processing power to handle the demands of your VR software, background tasks, and the occasional Discord call with your gaming crew.Recommended CPUs:
- Budget-friendly: AMD Ryzen 5 5600X or Intel Core i5-12400F- Mid-range: Ryzen 7 5800X3D or Intel Core i7-12700K
- High-end: Ryzen 9 7900X or Intel Core i9-13900K
If your CPU can’t keep up, your GPU’s just gonna sit there, twiddling its thumbs (metaphorically, of course).
Step 3: RAM—Yes, Size Does Matter 🧠
Don’t skimp on memory. VR environments are heavy. Think bustling virtual cities, open worlds, tons of physics calculations—all happening in real-time.Sweet Spot:
- Minimum: 16GB DDR4 or DDR5- Ideal: 32GB (trust me, future you will thank you)
- Speed: 3200MHz and up is golden
Step 4: Storage—Because Nobody Likes Long Load Times 📀
Hard drives? Nope. In the world of VR, they’re basically dinosaurs. You’ll want NVMe SSDs to keep things snappy.VR Storage Checklist:
- At least a 500GB NVMe SSD for your OS and games- Add a second 1TB SSD if you’re a game hoarder (and let’s face it, most of us are)
Load times can make or break immersion. You want to go from reality to virtual world instantly, not stare at a loading screen and think about your life choices.
Step 5: Motherboards—Don't Overthink It 🧩
Your mobo (that’s what the cool kids call motherboards) just needs to be compatible with your CPU. That’s it. Don’t fall down the rabbit hole unless you’re into overclocking, Wi-Fi built-in, or RGB madness.For Intel:
- Budget: B660 or B760 chipset- Premium: Z690 or Z790
For AMD:
- Budget: B550- Premium: X570 or X670
Oh, and make sure it has enough USB ports. VR headsets love USB like your aunt loves cat memes.
Step 6: Power Supply—Keep the Juice Flowing 🔌
Don’t cheap out here. A sketchy PSU is a ticking time bomb. Go for a reliable brand, 80+ Bronze or better, and make sure it’s got enough wattage for your GPU.Ballpark Estimate:
- Mid-range builds: 650W- High-end setups: 750W to 850W+
Modular PSUs are awesome for clean cable management. And we love tidy builds, don’t we?
Step 7: Case—Function Over Flash (But Flash is Fun Too) 🛠️
Pick a case that:- Fits your GPU (some of these new ones are thicc)
- Has good airflow
- Looks cool (obviously)
Extra fans or a pre-installed front mesh panel is a win. You want your PC to breathe, not suffocate under pressure.
Step 8: Cooling—Because Heat is the Enemy 🔥
If your components run hot, VR will go from immersive to irritating fast. Here’s how to keep things chill:Cooling Options:
- Air coolers: Cheaper, easier to maintain- AIO Liquid coolers: Sleeker, better for overclocking
And yes, those RGB fans? Totally optional. But do they make you feel 10% cooler? Absolutely.
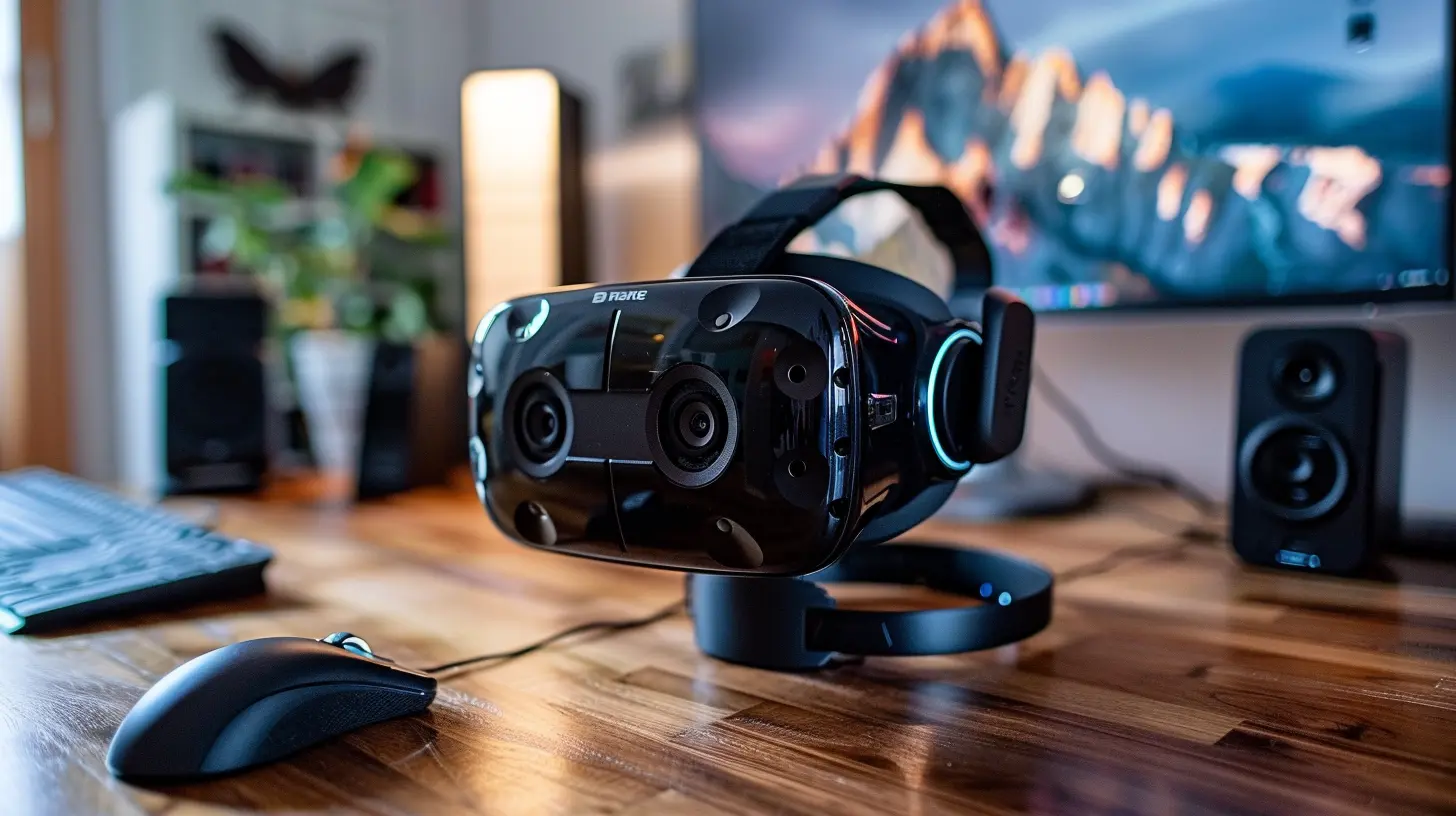
Step 9: Choose Your VR Headset (The Gateway to Wonderland) 🕶️
Now that the PC’s ready, let’s talk headsets. Your choice depends on budget, preference, and how deep you wanna go.Great Options for Beginners:
- Meta Quest 2: Affordable, wireless, but lower specs- Valve Index: High-quality visuals, excellent controllers, but pricey
- HP Reverb G2: Crisp resolution, good price-performance ratio
Make sure your headset is compatible with your PC and offers SteamVR support if you’re into gaming.
Step 10: Setup and Optimization—Don't Skip This! ⚙️
Alright, now that you've built this beast, let’s get it VR-ready in practice.- Update drivers: GPU, headset software, motherboard BIOS—everything.
- Install SteamVR or Oculus software depending on what headset you’re running.
- Clear play area and set up boundaries (unless you enjoy punching lamps).
- Run benchmarks to test performance.
- Adjust graphics settings for the games you play—it's okay to dial things down if needed for smoother experience.
VR-Ready PC Build Example (Ballin’ on a Mid-Range Budget 💸)
Let’s throw down a mid-range build that gives you a killer VR experience without emptying your piggy bank:- CPU: AMD Ryzen 5 7600X
- GPU: NVIDIA RTX 4070
- RAM: 32GB DDR5 5600MHz
- Storage: 1TB NVMe SSD
- Motherboard: B650 chipset
- PSU: 750W 80+ Gold
- Case: Mesh front mid-tower with three fans
- Cooling: 240mm AIO liquid cooler
Total Cost: Around $1,300–$1,500 depending on current prices.
Optional Add-Ons for Even More “Wow” ✨
- RGB lights: Because more lights = more power (not really, but they look epic).- VR cable management system: Keep those cables off the ground.
- Upgraded controllers and accessories: Haptic vests, VR treadmills... go wild if your wallet allows.
Final Thoughts—Welcome to the VR Club 🥽🎉
Building a VR-ready PC may seem intimidating, but let me tell you—it’s way easier than it looks once you break it down. Plus, you get an insanely amazing experience at the end of the tunnel.You don’t have to be a tech wiz or have an engineering degree. Just a little patience, some research (which you've nailed by reading this, by the way), and the courage to dive in.
So go ahead. Break out that screwdriver. You’re about to build a portal to another world—from your desk. No biggie.
all images in this post were generated using AI tools
Category:
Computer HardwareAuthor:

Marcus Gray
Discussion
rate this article
2 comments
Zander McKinnon
Building PCs? Just don’t forget your virtual reality goggles!
March 29, 2026 at 12:36 PM
Marcus Gray
Great point! VR goggles are essential for the full experience, so don’t forget to consider compatibility while building your PC!
Shannon Stewart
Great article! It’s a helpful starting point for anyone looking to build a VR-ready PC. The straightforward tips on hardware selection and compatibility are particularly valuable. I appreciate the clarity and organization—perfect for beginners navigating the complexities of VR technology!
March 28, 2026 at 3:59 AM
Marcus Gray
Thank you so much for your kind words! I'm glad you found the article helpful for beginners. Happy building!