Achieving Cinematic Video with a DSLR: Tips & Tricks
28 September 2025
So, you’ve got yourself a fancy DSLR, and you’re ready to shoot the next Hollywood blockbuster—or at least something that doesn’t look like your uncle’s shaky vacation footage from 2003. Well, good news! With the right techniques, you can make your videos look stunningly cinematic without breaking the bank.
Cinematic video isn't just about having an expensive camera; it’s about knowing how to use it. So, grab your coffee (or popcorn, if you’re feeling extra), and let’s dive into the ultimate guide to making your DSLR videos look like they belong on the big screen. 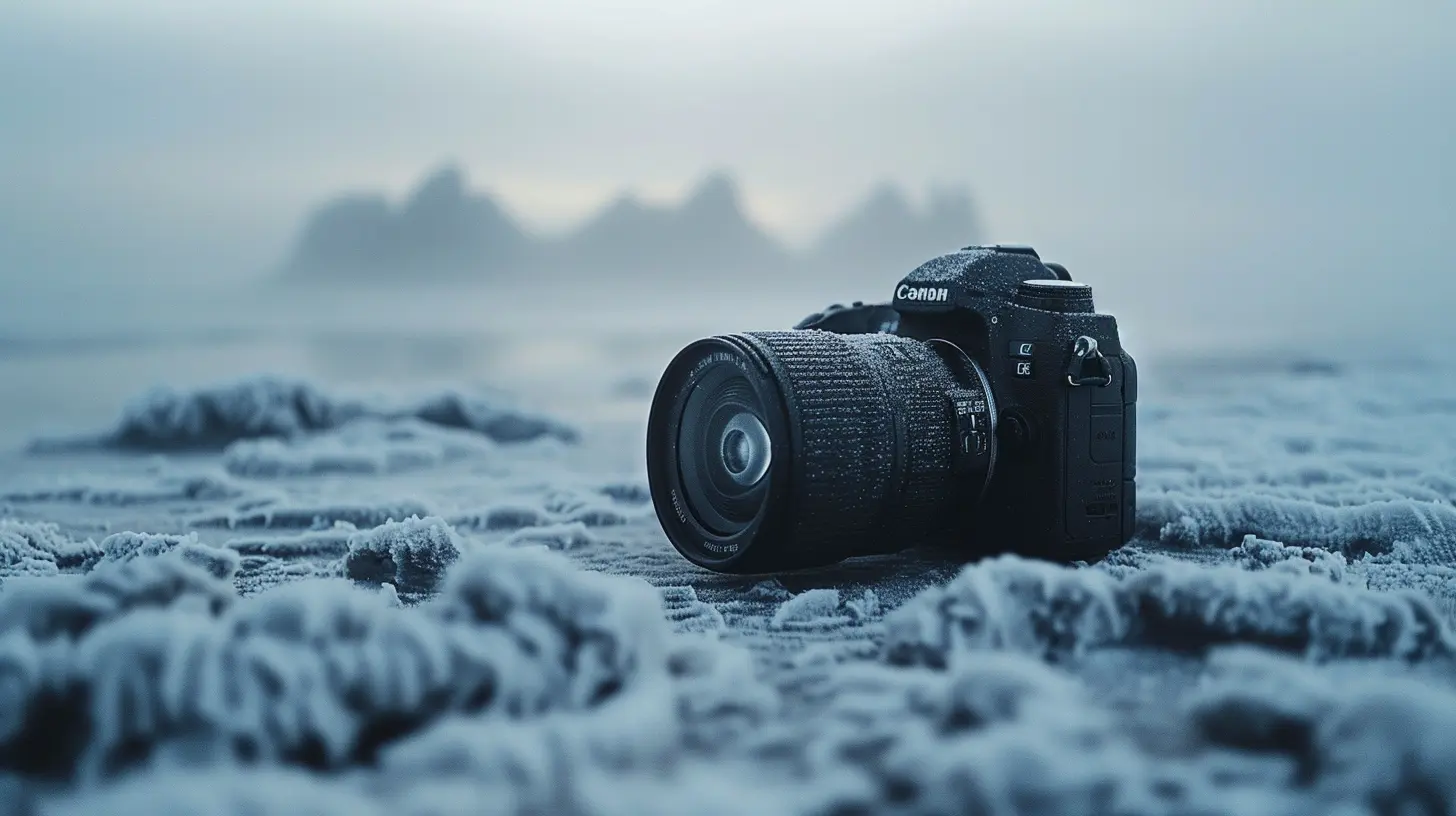
1. Frame Rate & Shutter Speed: The Magic Formula 🎥
If you want your footage to look like a movie and not a reality TV show, you need to get your frame rate and shutter speed right. The golden rule? Double your frame rate for a natural motion blur.🎬 Picking the Right Frame Rate
- 24fps – The holy grail of cinema. Hollywood uses it, and so should you (unless you're filming sports or soap operas).- 30fps – Looks smooth but slightly "too real." Great for TV shows, not so much for that dramatic look.
- 60fps+ – Super smooth and perfect for slow-motion shots.
⚡ Shutter Speed Rule: Double Trouble
Whatever frame rate you choose, set your shutter speed at double that number:- Shooting at 24fps? Use 1/48 or 1/50s shutter speed.
- Shooting at 60fps? Go with 1/120s shutter speed.
This maintains natural motion blur, preventing your footage from looking like a soap opera or a home security camera. 
2. Mastering Depth of Field: That Dreamy Blur 🌊
Ever wondered why cinematic footage has that beautiful blurry background? That’s depth of field, and it instantly makes your shots look expensive.🔥 How to Get That Sweet, Blurry Background
- Use a wide aperture (low f-stop) – Aim for f/1.8 or f/2.8 to blur the background while keeping your subject in crisp focus.- Use a longer focal length – A 50mm or 85mm lens will make the background blur more pronounced.
- Increase subject-background distance – The farther your subject is from the background, the more blur you get.
Want that Hollywood close-up? Get yourself a 50mm f/1.8 prime lens—it’s cheap, amazing, and makes anyone look like a movie star. 
3. Lighting: The Secret Sauce for Cinematic Footage 💡
If your lighting sucks, your video will, too—no matter how expensive your camera is.🎭 The Three-Point Lighting Setup
- Key Light – Your main star (usually placed at a 45° angle).- Fill Light – Reduces shadows (placed on the opposite side).
- Backlight – Adds depth by separating the subject from the background.
🌅 Natural Lighting Hacks
- Golden Hour – Shoot during sunrise or sunset for that dreamy, natural glow.- Avoid Harsh Noon Sun – Noon lighting is the enemy. It makes people look like raccoons.
- Use Reflectors – A simple white sheet can bounce light back onto your subject’s face.
Even a cheap LED light with a diffuser can instantly level up your video game. 
4. Color Grading: The Cinematic Look 🎨
Ever noticed how blockbuster films have that rich, moody color scheme? That’s color grading, and it’s what separates amateurs from pros.🎞️ How to Nail the Cinematic Look
- Shoot in a Flat Profile (LOG or CineStyle) – This captures more details in shadows and highlights.- Use LUTs – Think of them as Instagram filters for your videos. A "Teal & Orange" LUT can instantly make your footage pop.
- Adjust Contrast & Saturation – Too much saturation = cartoonish. Too little contrast = washed out. Find the sweet spot.
DaVinci Resolve (free) or Adobe Premiere Pro are excellent tools for color grading.
5. Stabilization: No More Shaky Footage 🚁
Nobody likes watching a video that looks like it was filmed during an earthquake. If you want cinematic footage, stabilization is key.🏃♂️ Ways to Stabilize Your Shots
- Use a Gimbal – A game-changer for smooth motion shots.- Try a Tripod – Perfect for static, professional-looking compositions.
- Handheld Tricks – If you’re going handheld, keep your elbows close and move like a ninja.
- Warp Stabilizer (Post-Production) – If all else fails, Adobe Premiere Pro’s Warp Stabilizer can work wonders.
Stability = Professionalism. Period.
6. Composition & Framing: Tell a Story with Your Shots 🎭
Bad composition can make even the best camera look bad. But nailing composition? Chef’s kiss—pure magic.🖼️ Golden Composition Rules
- Rule of Thirds – Place your subject at the intersections of imaginary grid lines.- Leading Lines – Use roads, fences, or shadows to guide the viewer’s eyes.
- Symmetry & Balance – Use symmetry for an aesthetically pleasing frame.
- Look Room & Head Room – Give your subject space to “breathe” in the frame.
A well-composed shot instantly feels more cinematic—like a painting that moves.
7. Sound: The Underrated Cinematic Hero 🎤
If your video looks great but sounds like it was recorded inside a tin can, you’ve already lost half your audience.🎧 Audio Tips for Pro-Quality Sound
- Use an External Mic – Even a cheap lavalier mic is 100x better than your DSLR’s built-in microphone.- Record in a Quiet Space – Background noise is the villain in your audio story.
- Use Sound Effects – Subtle whooshes, clicks, and ambient sounds make your video feel alive.
- Background Music – Choose cinematic music that enhances, not overpowers, your footage.
Bad audio = bad video. Good audio = cinematic masterpiece.
8. Slow Motion & Timelapses: Add That Extra Flair ⏳
Want to make your video stand out? Add some cinematic slow motion or epic timelapses.🐢 Slow Motion: Smooth Like Butter
- Shoot at 60fps or higher and slow it down later in post.- Use a high shutter speed (double your fps) to keep motion sharp.
⏳ Timelapse: Time Travel on a Budget
- Use your DSLR’s interval timer to capture frames over time.- Keep your camera rock solid (tripod required!).
- Adjust settings for changing light conditions (especially for sunsets).
Nothing screams "cinematic" like a buttery slow-motion sequence or a mesmerizing timelapse.
9. Storytelling: The Heart of Cinematic Video ❤️
You can have the best camera, lighting, and effects—but without a compelling story? Meh.📖 Keep These Storytelling Elements in Mind
- Have a Beginning, Middle & End – Even if it’s a short video, structure matters.- Use Emotion – Make the audience feel something.
- Add Movement & Transitions – Subtle motion keeps viewers engaged.
A well-told story trumps fancy gear every single time.
Final Thoughts: Your DSLR is a Cinematic Beast—If You Use It Right 🎬
Achieving cinematic video isn’t about spending a fortune. It’s about mastering the basics—framing, lighting, movement, and storytelling. With these tips, your DSLR can produce footage that screams Hollywood (or at least high-end YouTube).So, get out there, start shooting, and remember—cinematic magic is in the details!
all images in this post were generated using AI tools
Category:
Camera GearAuthor:

Marcus Gray
Discussion
rate this article
1 comments
Nadine Robinson
Great tips! Mastering DSLR settings really elevates video quality. Can't wait to try these techniques for my next project!
October 7, 2025 at 3:42 AM
Marcus Gray
Thank you! I'm glad you found the tips helpful. Enjoy experimenting with your DSLR!